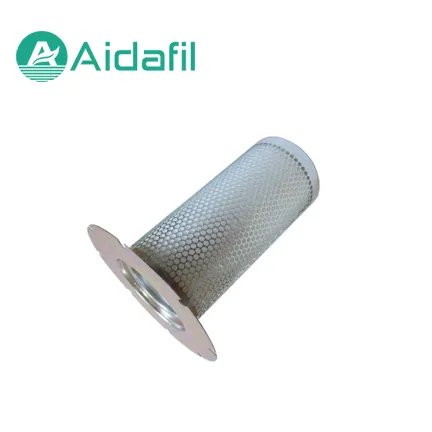
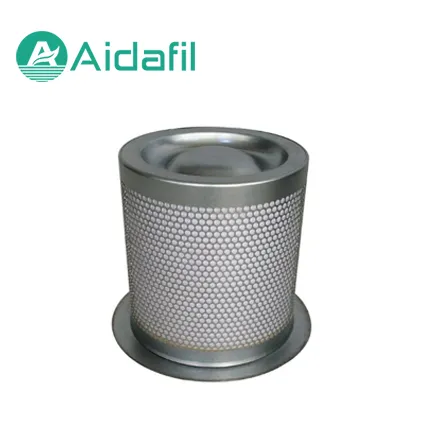
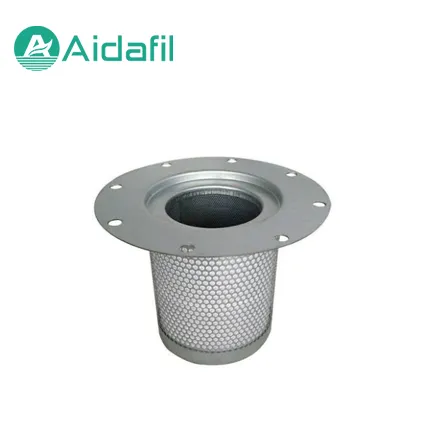
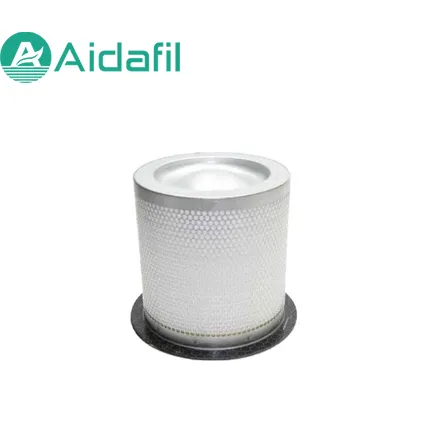
Diagnostische Ölübertragung, hoher Differenzdruck und Abscheiderkollaps, dann Überprüfung der Austauschmaße und Betriebsbedingungen.
Einführung
Der Ölabscheider in einem Öl-eingeworfenen Luftkompressor hat einen anspruchsvollen Job. Es muss feine Ölnebel aus Druckluft entfernen und dabei stabilen Durchfluss und Druck erhalten. Wenn der Separator zu versagen beginnt, sind die ersten Anzeichen oft höheren Ölverbrauch, Ölübertragung, steigender Differenzdruck oder eine sichtbare Änderung des Separatorelements nach dem Entfernen.
Ein Separatorausfall wird nicht immer durch das Element selbst verursacht. Falsche Installation, übermäßiges Ölniveau, Kontamination, hohe Betriebstemperatur, eine blockierte Ölrückführung oder ein Ersatz mit den falschen Abmessungen können die gleichen Symptome hervorrufen. Das Ersetzen des Elements ohne die zugrunde liegende Ursache kann zu einem wiederholten Versagen führen.
In diesem Leitfaden werden die häufigsten Symptome, mögliche Ursachen, Diagnoseprüfungen und Informationen beschrieben, die vor der Bestellung eines Ersatzes bestätigt werden sollten.
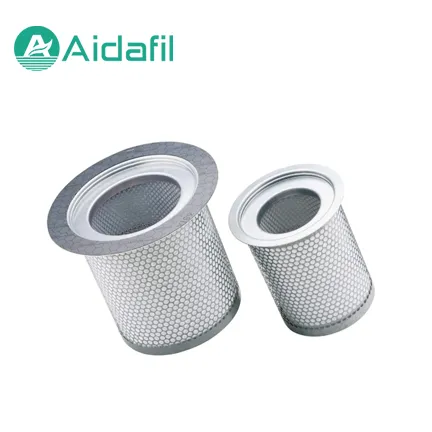
Wie funktioniert der Öltrenner
In einem Ölverdichter wird Öl zur Schmierung, Abdichtung und Kühlung verwendet. Ein Großteil des Öls wird durch mechanische Trennung entfernt, bevor die Druckluft durch den endgültigen Kohlenzugabscheider geht. Der Separator sammelt feine Tröpfchen, die dann wieder zum Ölkreislauf abtropfen.
Das Element muss den erforderlichen Luftstrom mit einem akzeptablen Druckabfall handhaben. Seine Medien, Dichtungen, Abmessungen und Stützstruktur müssen dem Kompressormodell und den Betriebsbedingungen entsprechen. Ein zu restriktiver Separator kann den Druckverlust erhöhen, während ein beschädigter oder falsch installierter Separator Öl mit der Druckluft verlassen kann.
Häufige Symptome
Ölüberzug
Öltransfer kann als sichtbares Öl in der Luftlinie, Ölansammlung in Filtern oder Trocknern oder eine ständige Notwendigkeit, Öl hinzuzufügen erscheinen. Ein plötzlicher Anstieg des Ölverbrauchs sollte untersucht werden, bevor der Kompressor über einen längeren Zeitraum betrieben wird.
Hoher Differenzdruck
Ein steigender Separatordruck kann auf Belastung, Feuchtigkeit, Kontamination oder Medienbeschränkung hinweisen. Bestätigen Sie, dass das Messgerät oder der Sensor arbeitet und vergleichen Sie das Lesen mit den Servicekriterien des Kompressorherstellers.
Separator Collapse oder Deformation
Ein kollabierter oder verzerrter Separator kann einen übermäßigen Differenzdruck, eine fehlerhafte Installation, inkompatible Materialien oder ein Systemereignis wie eine blockierte Rücklaufbahn bedeuten. Das beschädigte Element sollte vor der Beseitigung zur Inspektion aufbewahrt und fotografiert werden.
Öl im Druckluftsystem
Oil may reach downstream equipment even when the separator appears intact. Check the oil return arrangement, operating temperature, oil level, and the condition of related seals and gaskets.
Possible Causes of Failure
Incorrect replacement dimensions or seal arrangement
Separator installed in the wrong orientation
Oil level too high or too low
Contaminated oil or excessive moisture
High operating temperature
Blocked or restricted oil return line
Excessive differential pressure
Damaged housing or sealing surface
Incompatible oil or additive package
Airflow or pressure outside the operating range
The presence of one symptom does not identify the cause. A systematic inspection is more reliable than replacing parts by guesswork.
Diagnostic Sequence
1. Record the Operating Conditions
Note compressor load, discharge pressure, discharge temperature, oil temperature, oil level, and separator differential pressure. Record the values before shutdown and compare them with normal operation.
2. Inspect the Oil Return and Drain Path
Check for a blocked return line, damaged orifice, incorrect routing, or a return line that cannot drain under the actual operating condition. Follow the manufacturer's service instructions for the specific compressor.
3. Check Oil Level and Oil Condition
An overfilled system can increase oil carryover. Contaminated or degraded oil can affect separation and may create deposits. Take an oil sample if the condition is uncertain and follow the recommended maintenance schedule.
4. Review Temperature and Pressure
High temperature can accelerate oil degradation and affect separator performance. Check cooling, ventilation, and oil flow. Verify that pressure readings are accurate and not affected by a faulty gauge or sensor.
5. Inspect the Removed Separator
Photograph the element before cleaning. Check the end caps, seals, media, support structure, and any deformation. Compare the dimensions and markings with the replacement specification.
6. Check the Housing and Sealing Surfaces
Inspect the housing for damage, corrosion, blocked passages, and seal contamination. A new separator may not seal correctly if the housing surface is damaged.
Replacement Checks
Before installing a replacement separator, confirm the compressor model, separator part number, height, outside diameter, inside diameter, connection details, seal type, and airflow direction. Check whether the element has a top and bottom orientation and whether any gasket or retaining component must be reused or replaced.
Follow the compressor manufacturer's procedure for depressurization, isolation, and torque. Do not operate the compressor until the separator is correctly seated and the system has been checked for leaks.
After replacement, monitor differential pressure, oil consumption, discharge temperature, and oil carryover. If the original symptoms return quickly, stop and investigate the system rather than assuming the new element is defective.
Prevention
Keep the oil at the correct level and use the specified oil type. Maintain the oil return path, replace related filters at the recommended interval, and investigate abnormal temperature or pressure readings promptly. Record separator differential pressure over time so that a gradual restriction can be distinguished from a sudden event.
Store replacement separators in clean, dry conditions and protect the seals and media from damage. Verify the part number and dimensions before installation, especially when the compressor has multiple configurations.